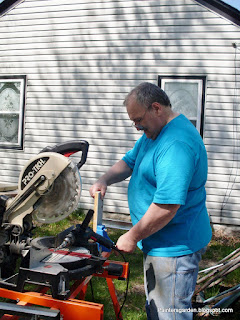
Using a pocket jig to make the ends from scrap lumber left over from a previous job.
This is what the ends look like after all the holes are drilled, the glue is applied, and the screws are driven to the bottom. As you can see the Black and Decker is ever present.
This is fastening the boards together, we work in the shade in front of the studio as you can see.
Fastening the ends together in the pocket jig, I wish I had put the holes on the outside. They would have been covered by the siding and it would have been a lot easier.
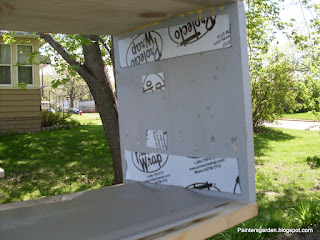
To make sure that water will not get into the holes Julia covered them with water proof tape, they will also be under the siding under that we will be putting on the inside, you can see it in the photo. The inside siding is free off a web side, I got it to do the second building but did not get enough.
How is this for a way to protect the inside of the planter? The j channel fits perfectly over the top and bottom of the planter so it is like putting the planter in a giant plastic bag.
I hate smacking my fingers with a hammer so I use my van door handle (needle nose pliers) to hold the nails.
End siding in place, inside siding in place, support lumber to brace the sides, now for this front piece, which I think is going to look good. I'm glad we spent the money on the cedar for the top trim, finished it off nicely. After this shot we leveled it off so it would look better.
Be sure to check Julia's site
http://paintersgarden.blogspot.com


